
Line Screen
Tapered lines · needle pointsA line screen prints tone with parallel lines instead of dots. Each line swells in the shadows and pinches to a point in the light. Line Screen turns your picture into that field of tapered lines.
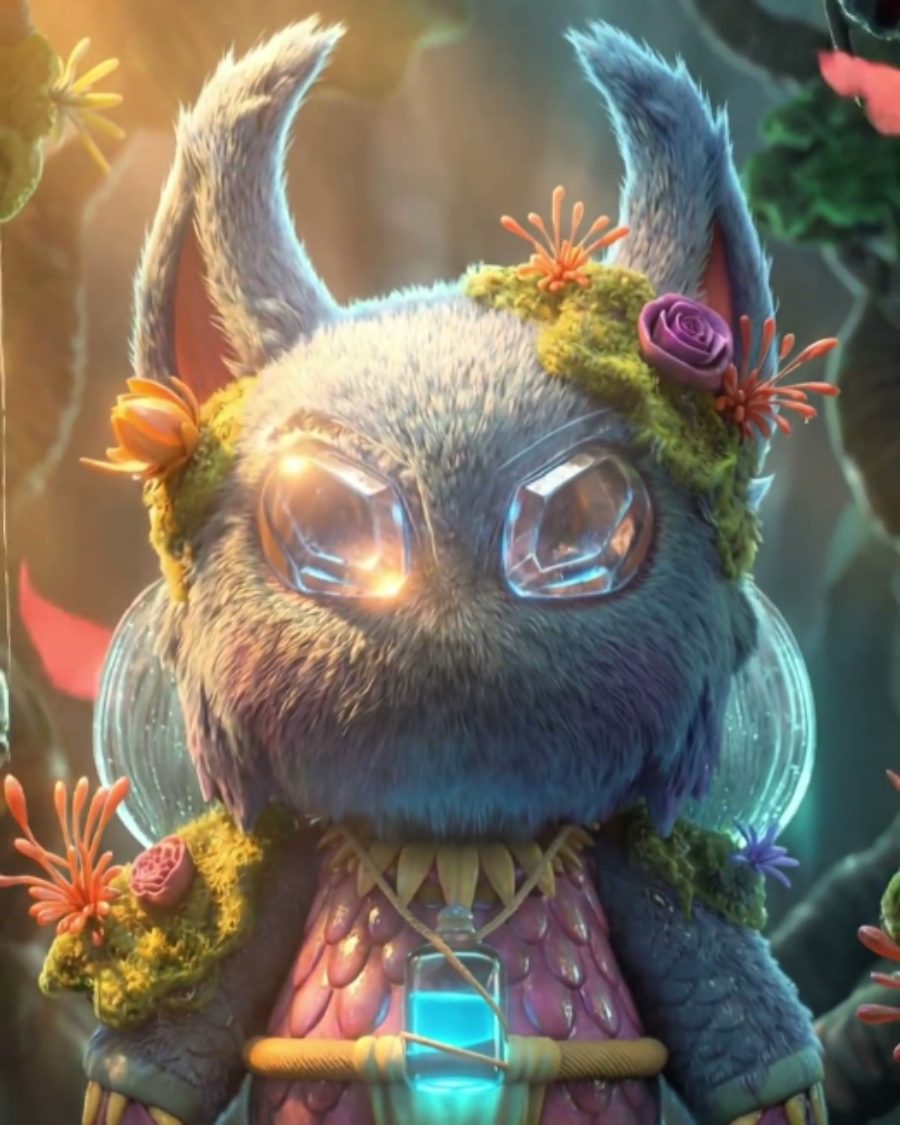
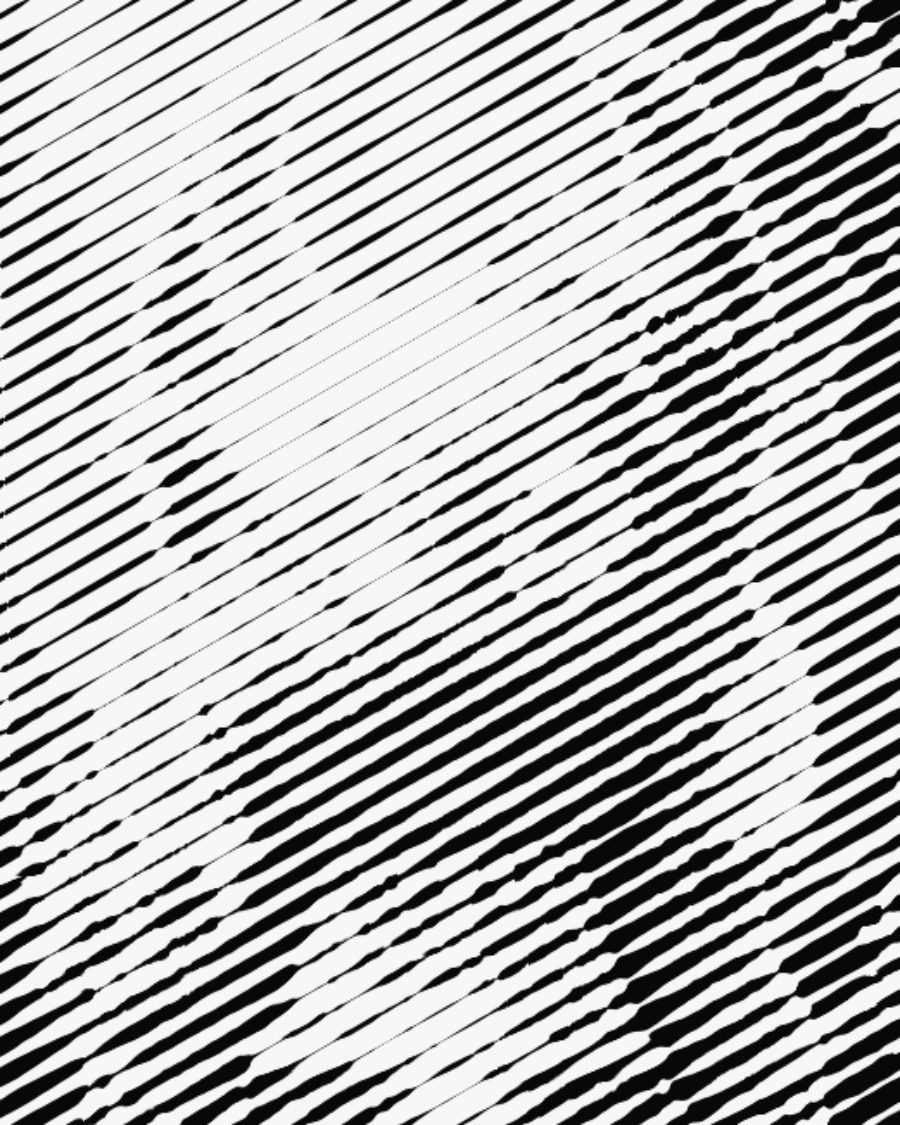
The sample with the Needle Screen preset. Drag to compare, or press Play with it to tune it live. Open as a shared look
What it's like
Look at an old stock certificate or a line-screened poster. From far away it's a photo. Up close it's rows of ink lines, each one thick where the picture is dark and sharp as a needle where it's bright. Bend the lines with the shape and you're close to an engraved portrait.
When to reach for it
- Bold one-color posters and covers that read as print.
- Engraved, banknote-style portraits. Turn up Follow.
- Glowing light-line graphics on black. Try Hologram Lines.
- Moving texture on a still picture. Drift slides the lines through the loop.
Controls
15 controls in 4 sections, in the order Tune shows them.
Lines
- Hero knobLines
20 to 200 · rests at 65
The hero. How many lines fit down the frame. Few is bold and graphic, many reads as a fine screen.
- FaderAngle
-90° to 90° · rests at 30°
Tilts the lines.
- KnobTaper
0 to 100 · rests at 45
How fast the lines thin out toward the light. Low keeps them full, high leaves only the shadows heavy.
- SwitchTips
NeedleBlunt
Needle lets lines thin all the way to a point. Blunt cuts them off short, with square ends.
Shape
- KnobFollow
0 to 100 · rests at 0
Bends the lines with the picture's tones, so they ripple over the shapes like an engraving.
- KnobRough
0 to 100 · rests at 0
Makes the line width ragged, like ink on rough paper.
- KnobDrift
0×/loop to 4×/loop · rests at 0×/loop
The lines slide across the picture, up to four times a loop, and land back where they started.
Tone
- KnobBlack
0 to 100 · rests at 0
Sets the black point. Raise it and more lines fill in solid.
- KnobWhite
0 to 100 · rests at 100
Sets the white point. Lower it and more of the picture goes to thin points.
- FaderGamma
-100 to +100 · rests at 0
Lightens or darkens the midtones before the lines are drawn.
- KnobSmooth
0 to 100 · rests at 30
Softens the picture first, so lines swell in smooth curves instead of chasing every detail.
- SwitchInvert
OffOn
Swaps it, so the lines are thick in the light and thin in the dark.
Ink
- SelectInk
BlackNavySepiaSourceHologram
The line color. Black, Navy, Sepia, Source for the picture's own colors, or Hologram cyan.
- SelectPaper
WhiteCreamBlackClear
What's behind the lines. White, Cream, Black, or Clear to keep only the lines.
- KnobGlow
0 to 100 · rests at 0
A soft halo of light around the lines, in the ink's color.
Presets
5 presets. Each one opens in the studio as a shared look. Add it on top of your picture, or save it to My looks.
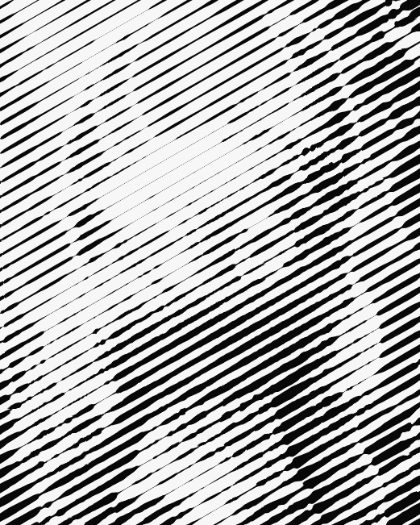 Needle ScreenFine diagonal lines that swell to black and pinch to points in the light.02
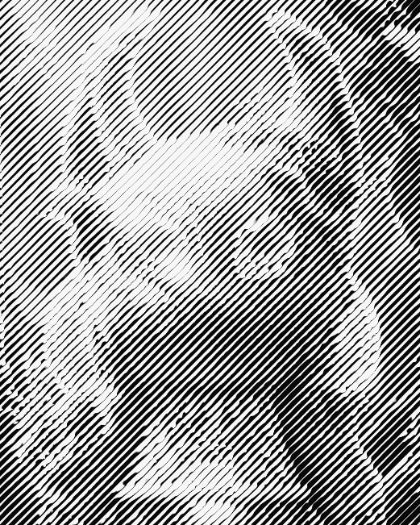 EngravedLines that bend with the shape, like a banknote portrait.03
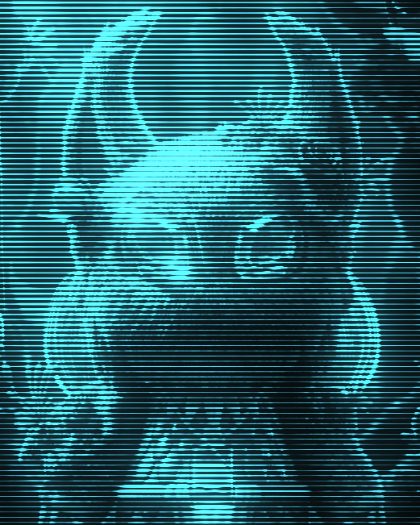 Hologram LinesGlowing cyan lines on black, level, thin in the dark.04
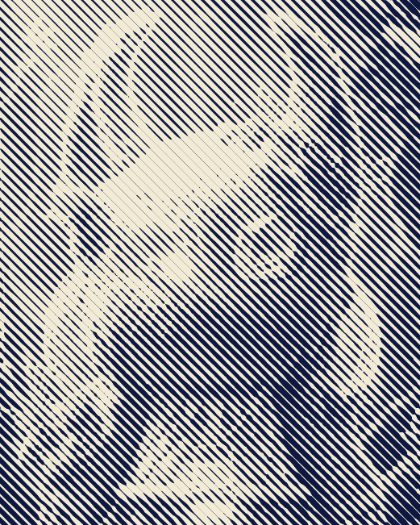 BlueprintNavy lines on cream, blunt ends.05
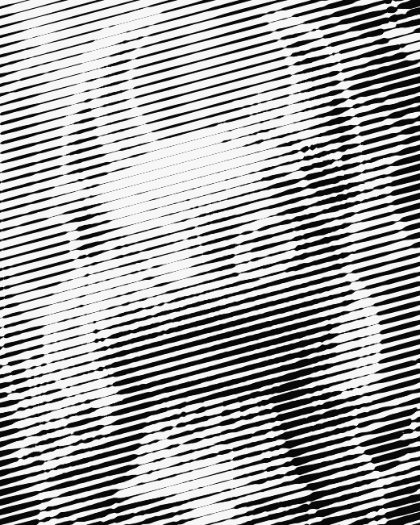 Drifting LinesLines that slide across the picture, twice a loop.